You want to photograph your jewellery but don’t know where to start? This is a list of all the little and big things you should pay attention to when starting out in product photography
1. Clean up: one of the very simple things you can do to make your photos look more professional is to clean your jewellery. There is nothing as disappointing as going through all that trouble of shooting and in the end seeing a huge finger smudge on your diamond. Make sure to clean your jewellery thoroughly and also clean the surface where you’re planning to put your jewellery.
2. Lighting: If you’re new to product photography it’s most likely that you don’t own any fancy lights, so the easiest and cheapest solution is to make the most use of natural light. Try to position your jewellery in a place where it’ll be exposed to the natural light of the sun. A small warning here; it’s pretty hard to control the sunlight, especially when dealing with reflective jewellery like diamonds, so don’t expect everything to go smoothly. But a quick fix for harsh light is to use a thin blanket in front of the window to soften the light that’s hitting your setup.
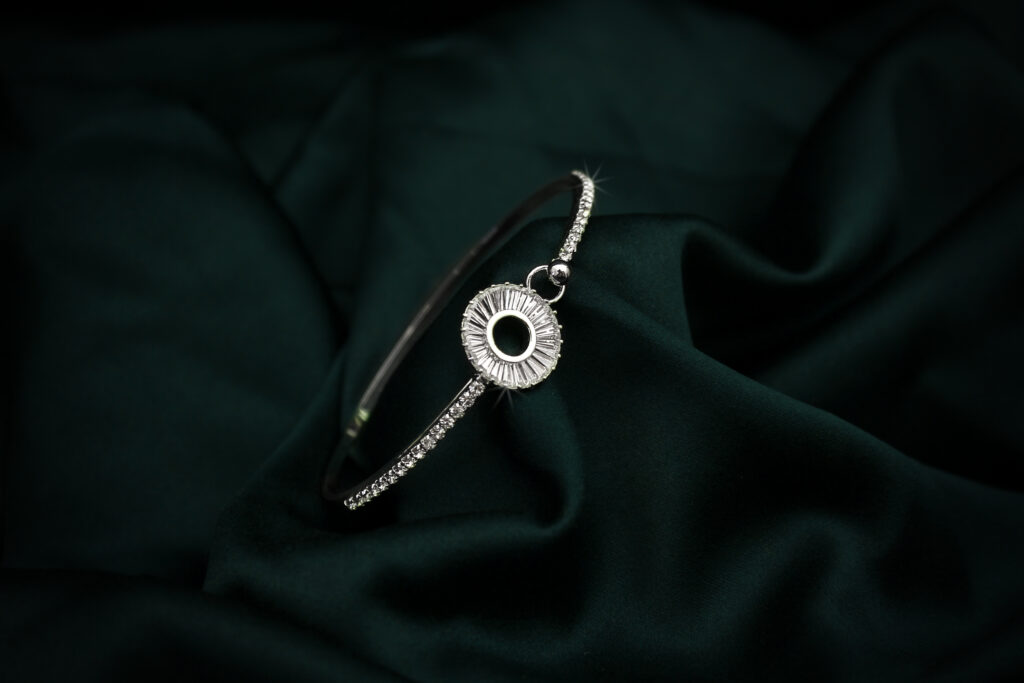
3. Styling: the standard way to style jewellery is with a simple white or black background. The reason for this is to not have anything pull the viewers’ attention away from the jewellery. But to be honest, it’s no fun shooting with a plain background. My advice would be to experiment as much as you can with your setup. It’s most important to remember that you can literally do anything! You can put a hamburger in the background and take a photo of your necklace. I’m not saying that everything you do is going to be good but what matters is to not be afraid of trying new things. But a reminder here is to remember everything in your setup is there to serve a purpose and make your jewellery look better but not to draw away the attention by putting something totally out of context (like the hamburger). A good example of this would be using flowers, they make your setup look more appealing but won’t avert the viewers’ attention from the jewellery.
4. Aperture: As I said before, the most important thing is to have the main focus on your jewellery. To achieve that, you need to change your camera settings so the jewellery is in full focus and sharp. In order to pull that off, you need a deeper depth of field so your background is slightly blurred and the jewels are in full focus.
5. Tripod: A tip that can make your life so much easier, is to use a tripod. Instead of taking 20 blurry photos, use a tripod and save yourself from the shaky-cam curse. This is going to cut down a great deal of the time you spend on taking photos with a handheld camera and give you more time to experiment with different angles.
6. Don’t be afraid of retouching your photos in postproduction: I know that everyone wants their photos to be perfect and to upload it on their social media straight out of the camera, but life isn’t that easy. Use all the different applications at your disposal to correct the lighting, white balance, shadows, etc…
7. Have fun and experiment!
These are all the tips and tricks that will help you achieve some great beginner product images. Sure, there are so many other things that we can talk about like macro lenses and lightbox, but for now, if you use these tips, you’ll see a great improvement in your photo qualities.